A Mutable Log
A blog by Devendra Tewari
Project maintained by tewarid Hosted on GitHub Pages — Theme by mattgraham
Embedded Linux system for PandaBoard with Buildroot
My objective here is to build a custom embedded Linux system for PandaBoard, that runs off the SD card. Buildroot version used is 2011.08. We’ll use the first stage bootloader called X-loader with the board name omap4430panda. The second stage bootloader used is U-Boot, which is built using the omap4_panda board configuration. The Linux kernel uImage is based on kernel source version 2.6.39.4, it is built using the defconfig omap2plus. The system is configured to use the udev device manager, and to produce the login prompt on the ttyO2 (with an O not zero) serial port. The default busybox package is used for commonly used command line utilities.
PandaBoard boot sequence
The boot sequence is explained in some detail at omappedia.org. We’ll keep that in mind while working with buildroot.
SD card format
The SD card format is explained in great detail here. For the sake of simplicity I used an SD card formatted correctly by writing an Ubuntu 11.04 preinstalled image for OMAP4. You can also obtain the X-loader MLO, U-Boot, and kernel uImage files from that image. Especially, if you want to replace your own binaries with something that works, for debugging.
Obtain and configure buildroot
Here’re the different options that need to be configured. To get the configuration menu execute make menuconfig from the buildroot source folder
- Target Architecture - choose arm.
- Target Architecture Variant - choose cortex-A9.
- Target ABI - choose EABI.
- Toolchain - change GCC compiler version to 4.6.x, this is required for compiling for cortex-A9. Choose the option Enable large file (files > 2 GB) support.
- System Configuration - change /dev management to Dynamic using udev. Change Port to run a getty (login prompt) on, to
ttyO2(with an O not zero). - Bootloaders - choose U-Boot. In the U-Boot sub menu set U-Boot board name to
omap4_panda. Choose X-Loader. In the X-Loader sub menu set x-loader board name toomap4430panda. - Kernel - choose Kernel version as Same as toolchain kernel headers (happens to be 3.0.4 when this post was written). Set Defconfig name to
omap2plus.
Configure the kernel
To get the configuration menu execute make linux-menuconfig from the buildroot source folder. You’ll have to build at least once so that buildroot downloads the kernel source. You can select kernel modules at any time and rebuild. For instance, enabling the following modules will add support for USB
- Under Device Drivers, Network device support, USB Network Adapters, check SMSC LAN95XX based USB 2.0 10/100 ethernet devices
- Under Device Drivers, USB support, check EHCI HCD (USB 2.0) support and TWL6030 USB Transceiver Driver
Configure the filesystem
Edit /output/target/etc/fstab and change the root filesystem to ext3
/dev/root / ext3 rw,noauto 0 1
Build
Execute make in the buildroot source folder to build the system.
U-Boot boot script
The kernel boot command line [kernel.org, lkn] is configured to print messages to the serial port ttyO2. Create a text file called boot.script with the following content
fatload mmc 0:1 0x80000000 uImage
setenv bootargs ro elevator=noop vram=32M root=/dev/mmcblk0p2 rootdelay=2 rootfstype=ext3 fixrtc console=ttyO2,115200n8 mem=456M@0x80000000 mem=512M@0xA0000000
bootm 0x80000000
Without rootdelay in the boot script you might get the following error
VFS: Cannot open root device "mmcblk0p2" or unknown-block(2,0)
Now, convert boot.script to the format required by u-boot
mkimage -A arm -T script -C none -n "Pandaboard boot script" -d boot.script boot.scr
Prepare SD card
Copy the following files to the the first partition (FAT32). All files other than boot.scr are to be found at output/images under the buildroot source folder.
- MLO
- u-boot.bin
- boot.scr
- uImage
Prepare the second ext3 partition (after rm -rf * anything already there) by extracting the contents of output/images/rootfs.tar
sudo tar xvf output/images/rootfs.tar
Boot the system
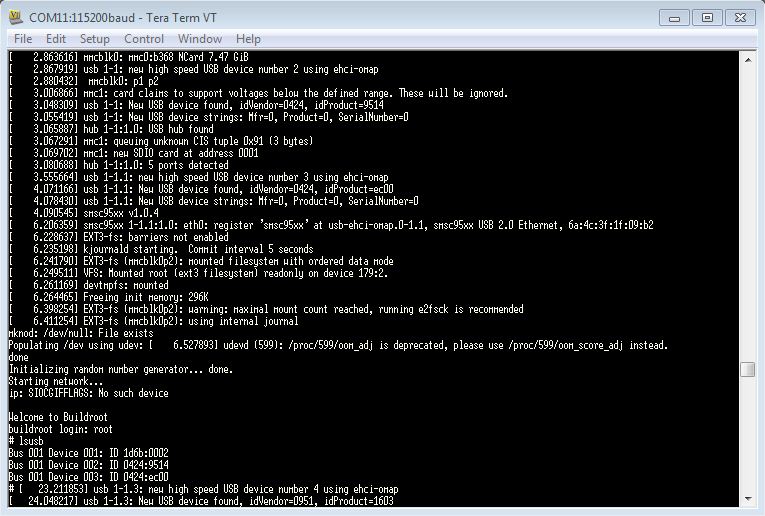
Now, you’re ready to plug the SD card into the PandaBoard and test the newly minted kernel. Remember to connect your PC to the serial port of the PandaBoard, the startup messages appear there, and you can login to the new system to do whatever you have built it for. If your PC does not have a serial port, you can buy any of several cheap USB to serial adapters. PuTTY is an excellent terminal for serial ports if you are using Windows. It is also available for Linux, or you can use screen or cu.
That’s all for now. Further work needs to be done to enable HDMI display, audio, WLAN and other hardware available on the PandaBoard.