A Mutable Log
A blog by Devendra Tewari
Project maintained by tewarid Hosted on GitHub Pages — Theme by mattgraham
Network Connection Bridging on Raspberry Pi with Buildroot
This post shows how I add network connection bridging to my custom embedded Linux system for Raspberry Pi. This allows me to experiment with bridging network connections for internet sharing, robustness testing, packet capture, and so on.
Modify Linux kernel configuration
Execute the following in the buildroot folder to get Linux Kernel configuration menu
make linux-menuconfig
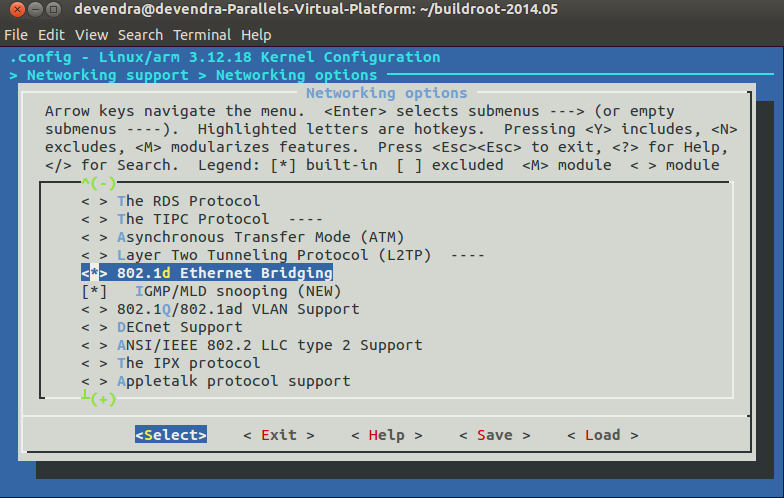
Select the 802.1d Ethernet Bridging module shown in the following screenshot

Modify Buildroot configuration
Execute the following in the buildroot folder to get the configuration menu
make menuconfig
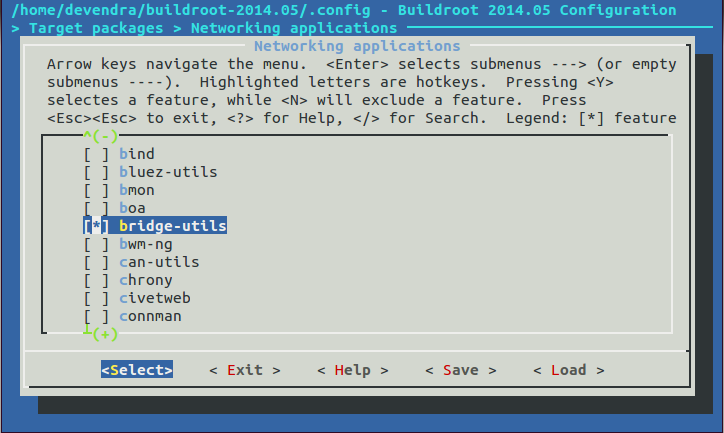
Select the bridge-utils package, shown in the screenshot below. This package contains the brctl utility required to configure bridging.

Then, just execute make to build the system. Once that is done, copy the new kernel image and root file system over to the SD card.
Perform bridging
These are the sequence of commands I typically use to bring up the bridge manually. I use a regular ethernet interface and a USB CDC ethernet interface for testing.
ifconfig eth0 0.0.0.0 promisc up
ifconfig usb0 0.0.0.0 promisc up
brctl addbr br0
brctl addif br0 eth0 usb0
ifconfig br0 up
If you need the bridge interface to have an IP address, you can assign one manually, or by invoking the DHCP client daemon as shown below. This is useful if you need to have access to your Pi over the network.
dhcpcd br0
To wrap it up, here’s how you can tear everything down.
ifconfig eth0 down
ifconfig usb0 down
ifconfig br0 down
brctl delbr br0