A Mutable Log
A blog by Devendra Tewari
Project maintained by tewarid Hosted on GitHub Pages — Theme by mattgraham
Make things smart with HomeKit and Raspberry Pi
As an avid iOS user I have been keen on using HomeKit. That’s when I read about a new - and currently free - HomeKit app in the iOS App Store called Hesperus. I don’t have a HomeKit compatible thing at home, but a quick internet search revealed that I could run a HomeKit compatible service called homebridge on a Raspberry Pi. This post only goes so far as configuring a fictitious light bulb plugin that can be controlled remotely.
Setup Raspberry Pi Image
I decided to download a console-only LITE version of Raspbian. Instructions for setting up an SD card appropriately can be found here. I use Win32 Disk Imager on Windows to write images.
I didn’t want to use an HDMI display with the Raspberry Pi, and wanted to power it using my laptop. I have used a USB to serial adapter to do that in the past. This time, I went with the USB Serial TTL cable from Adafruit, as described in this lesson. That done, I was able to power up and login to the Raspberry Pi using a serial terminal. I tend to use screen on Linux or Mac OS X
screen /dev/ttyUSB0 9600
Configuring Wi-Fi
Raspbian LITE lacks a full-fledged user interface, making Wi-Fi configuration slightly painful. I am using a Wi-Fi stick and had some issues getting the driver to work. Hopefully, you’ve got a Raspberry Pi 3, or a compatible Wi-Fi stick that does not require too much tinkering. You can also use Ethernet. The following can be used to check whether your network interface can be listed
ifconfig
Look for an interface called wlan0 if using Wi-Fi, or eth0 if using ethernet.
This is how you can create a configuration file for your Wi-Fi access point
wpa_passphrase your_SSID your_passphrase > your_SSID.conf
Copy the contents of your_SSID.conf and paste them into /etc/wpa_supplicant/wpa_supplicant.conf using any text editor. I used vi thus
sudo vi /etc/wpa_supplicant/wpa_supplicant.conf
Having done that, Wi-Fi was up and running. I had internet access, and could access the Raspberry Pi on the local network via ssh.
Install Linux packages
A few additional Linux packages and configuration steps are required before homebridge may be installed. Packages can be installed thus
sudo apt update
sudo apt install nodejs npm git libavahi-compat-libdnssd-dev
The version of Node.js installed by apt is rather dated, and will not work with homebridge. To update node, use the following commands
sudo npm install -g n
sudo n stable
Install homebridge
homebridge can be installed using npm thus
sudo npm install -g homebridge
To do anything interesting with homebridge you’ll require a plugin, and have it configured in ~/.homebridge/config.json. One simple plugin called homebridge-fakebulb can be installed thus
sudo npm install -g homebridge-fakebulb
Its sample configuration file can be used to create the config.json file mentioned above. This is what my config.json looks like
{
    "bridge": {
        "name": "Homebridge",
        "username": "CC:22:3D:E3:CE:32",
        "port": 51826,
        "pin": "031-45-155"
    },

    "description": "This has some fake accessories",

    "accessories": [
        {
            "accessory":      "FakeBulb",
            "name":           "Test lamp",
            "bulb_name":      "Lamp 1"
        }
    ],

    "platforms": []
}
Use with HomeKit
Apple’s HomeKit has been app-less since launch. Siri is the only way you were able to control HomeKit devices. HomeKit has a rich API and it didn’t take long for paid apps to appear in the App Store. Hesperus is a new free app that I opted to use to control homebridge.
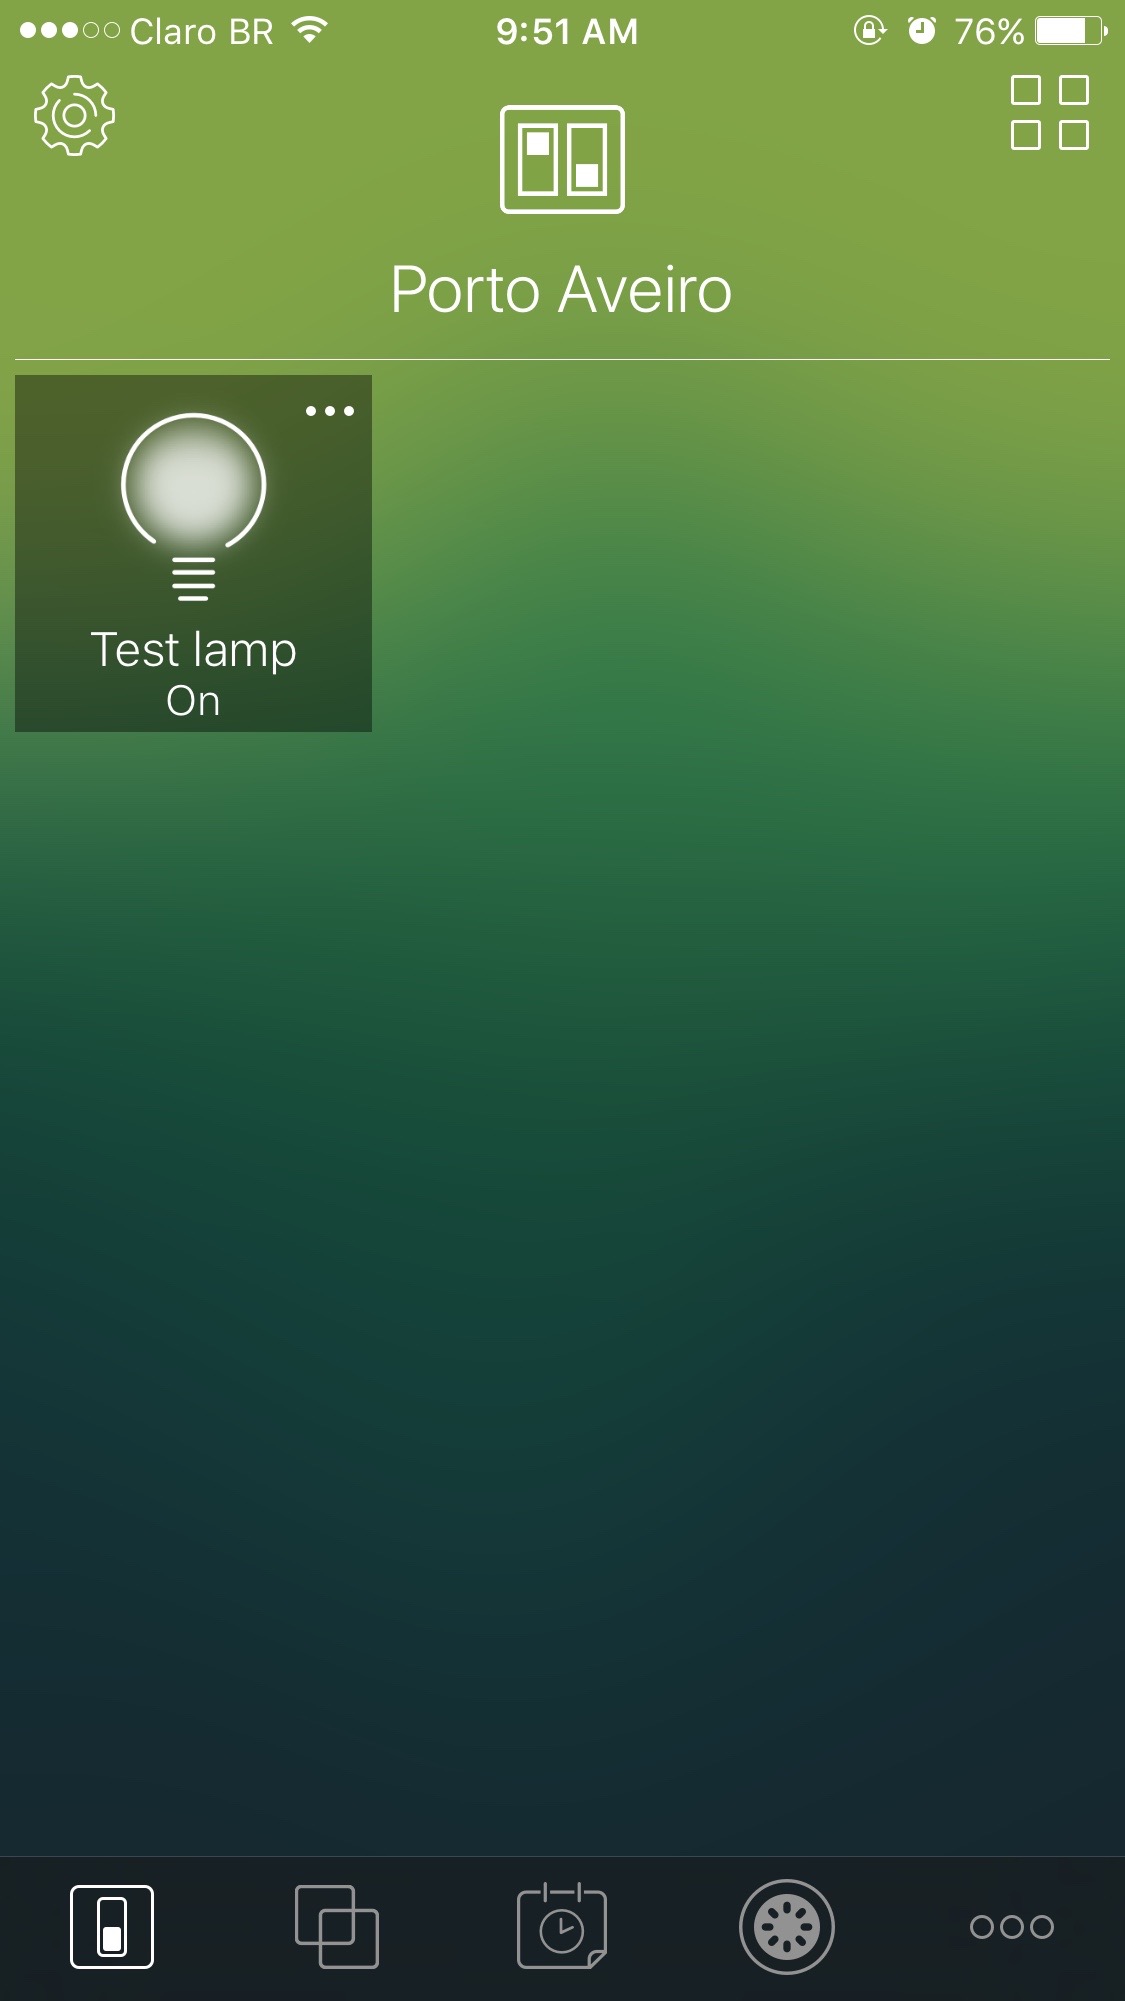
Here’s Hesperus with the Homebridge peripheral paired and working, showing the Test lamp device’s status. I can control the Test lamp (turn it on/off) anywhere I have an internet connection because I have an Apple TV (generation 4 - but 3 should also work) at home. Apple TV needs to be signed into the same iCould account as the iOS device paired with the Homebridge peripheral.